
A single uneven curb, a quick turn in the kitchen, or a walk across sand can reveal how much your ankles do for you. The best exercises for ankle stability do more than strengthen the joint. They help your foot react to changing surfaces, support your balance, and make daily movement feel less guarded after an injury or during ongoing pain.
For many people, ankle instability is not simply a weak ankle. It can involve reduced range of motion, delayed muscle response, poor balance, lingering swelling, or compensation from the knee, hip, or low back. That is why a thoughtful progression matters more than pushing through a long list of exercises.
If you have severe swelling, cannot bear weight, have new numbness, or feel that your ankle repeatedly gives way, seek a medical evaluation before starting. The same applies if you are recovering from a fracture, surgery, or a significant sprain. The right exercise should challenge you without causing sharp pain or worsening symptoms that last into the next day.
What ankle stability really means
Your ankle is expected to be both mobile and steady. It needs enough motion to let you walk, squat, and go downstairs, while also responding quickly when your foot lands slightly off center. The calf, shin, foot muscles, and muscles along the outside of the lower leg all contribute. Your hips and trunk matter too, because poor control higher up can make the ankle work harder.
After a sprain, people often focus only on the spot that hurt. But stability returns when the body relearns position awareness, strength, and timing. Start with controlled movements near a counter or sturdy chair. As your confidence improves, progress to standing work and then to activities that look more like the movements you need in real life.
8 best exercises for ankle stability
Perform these exercises in a comfortable order three to five days per week, unless your therapist has given you a different plan. Quality matters more than repetitions. Keep your movements slow enough that you can notice whether your arch collapses, your knee turns inward, or you shift away from the affected side.
1. Ankle alphabet
Sit with your foot unsupported and use your big toe to “write” the alphabet in the air. Move from the ankle rather than swinging the whole leg. This gentle exercise encourages motion in several directions and can be especially useful early in recovery, when standing exercises still feel uncomfortable.
Complete one alphabet once or twice a day. A mild stretch or stiffness is reasonable. Pinching pain at the front of the ankle or a sharp increase in symptoms is a sign to make the letters smaller or stop.
2. Calf raises
Stand with both hands lightly resting on a counter. Rise onto the balls of both feet, pause for two seconds, and lower slowly for a count of three. Begin with two sets of 8 to 12 repetitions.
Calf strength helps control the ankle as you push off during walking. Once double-leg raises feel smooth and even, shift more weight to one side or progress to single-leg calf raises. Do not rush this progression if you cannot keep your heel moving straight up and down. A wobbling heel often means the ankle needs more control before more load.
3. Resistance-band ankle turns
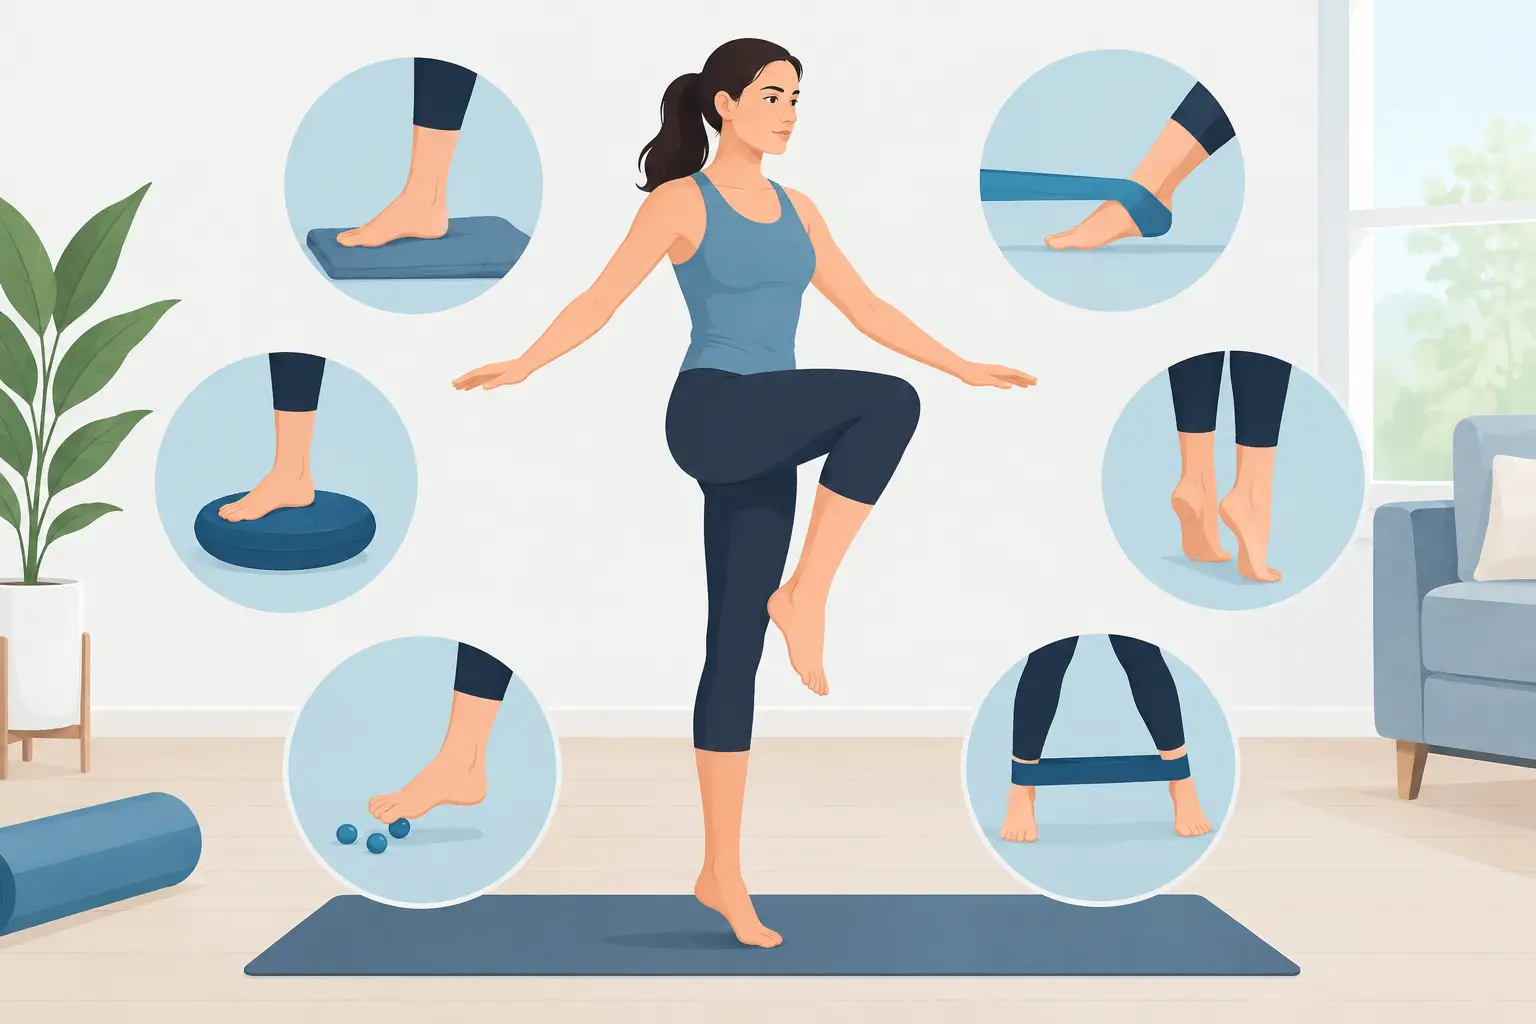
A resistance band can target the muscles that support the ankle from different directions. Anchor the band securely and move the foot slowly against resistance. Pull the toes toward you, press them away, turn the sole inward, and turn it outward. The outward turn is particularly helpful after a typical inversion sprain, when the ankle rolled inward and stretched the outer ligaments.
Use a light band for two sets of 10 to 15 repetitions in each direction. Your lower leg should stay mostly still. If your knee twists or your hip does all the work, reduce the resistance.
4. Short-foot holds
With bare feet on the floor, gently draw the ball of your foot toward your heel without curling your toes. Your arch should lift slightly while your toes remain relaxed. Hold for five seconds, then release.
This small movement trains the muscles inside the foot that help support the arch and create a steadier base. Try two sets of 8 to 10 holds. It may feel subtle at first, but it can make standing and balance work more effective.
5. Single-leg balance
Stand near a counter and lift one foot just off the ground. Aim for 10 to 20 seconds at first, keeping the standing knee softly bent and your pelvis level. Repeat three times per side.
When this becomes easy, reduce your hand support, increase the hold to 30 seconds, or gently turn your head from side to side. Closing your eyes is a much bigger challenge and is not appropriate for everyone, especially people with balance concerns or neurological conditions. Safety comes first: keep a stable surface within reach.
6. Clock reaches
Stand on one leg near a counter. With the other foot, lightly tap the floor in front of you, to the side, and behind you, as though reaching toward points on a clock. Return to a controlled standing position between taps.
Clock reaches teach the ankle to stabilize while the rest of the body moves. Start with three directions and one or two rounds. Keep the standing foot connected to the floor rather than gripping with the toes. If your knee collapses inward or the ankle feels unstable, make the reach shorter.
7. Step-downs
Stand on a low step with one foot near the edge. Slowly lower the opposite heel toward the floor, then return to standing. You do not need to touch the floor at first. Two sets of 6 to 10 controlled repetitions is enough.
This exercise builds the control needed for stairs, curbs, and downhill walking. The key is alignment: your knee should track generally over the middle toes, not drift sharply inward. A lower step is often more useful than a higher step performed with poor form.
8. Lateral weight shifts or side steps
For lateral weight shifts, stand with feet hip-width apart and slowly shift your weight from one leg to the other without leaning your torso. To progress, place a light resistance band above the knees or around the ankles and take small side steps with soft knees.
Side-to-side control is commonly missed after an ankle sprain, yet it is essential for turning, getting out of a car, and walking on uneven ground. Take 8 to 12 small steps in each direction. Keep your toes pointing forward and avoid letting the feet snap together between steps.
How to progress without irritating your ankle
The best routine is the one your ankle can recover from. A little muscle fatigue is expected. Pain that becomes sharp, swelling that increases, or limping later that day suggests the exercise was too difficult, too frequent, or progressed too quickly.
Change only one variable at a time. You might add two repetitions, reduce hand support, use a slightly stronger band, or move from a firm floor to a folded towel. Avoid combining all of those changes in the same week. This measured approach is particularly important for adults returning to work, sports, or long walks after an injury.
Footwear also affects how exercises feel. Supportive shoes may be more comfortable for standing drills if you have foot pain, arthritis, or a history of plantar fasciitis. Barefoot work can be useful for short-foot holds and gentle balance practice when it is safe and comfortable. There is no single right choice for every ankle.
When personalized therapy can help
Home exercise is valuable, but repeated sprains, chronic swelling, weakness after surgery, or a feeling that the ankle “does not trust you” deserves closer attention. A physical therapist can check ankle motion, strength, walking mechanics, footwear needs, and the way your hips and trunk influence balance. That evaluation helps identify why standard exercises may not have solved the problem.
For people who cannot tolerate full weight-bearing exercise because of pain, joint irritation, or fear of falling, warm-water therapy can offer a gentler starting point. Water buoyancy reduces stress on the joints while allowing guided walking, balance, and strengthening practice. Land-based rehabilitation can then build the control needed for everyday surfaces.
At Motion Plus Aquatic & Therapy Center, care is built around that kind of individual progression, not a one-size-fits-all routine. The goal is not merely to stand on one foot longer. It is to help you walk, work, exercise, and move through your day with greater confidence.
Give your ankle time to learn again. Small, consistent practice performed with good form can make everyday movement feel safer long before you are ready for the most challenging balance drills.


Recent Comments